
Select the parent Before After and navigate to the Design tab. Now open the Before Label panel. Now you can see the Before Label settings and click its appears customization.
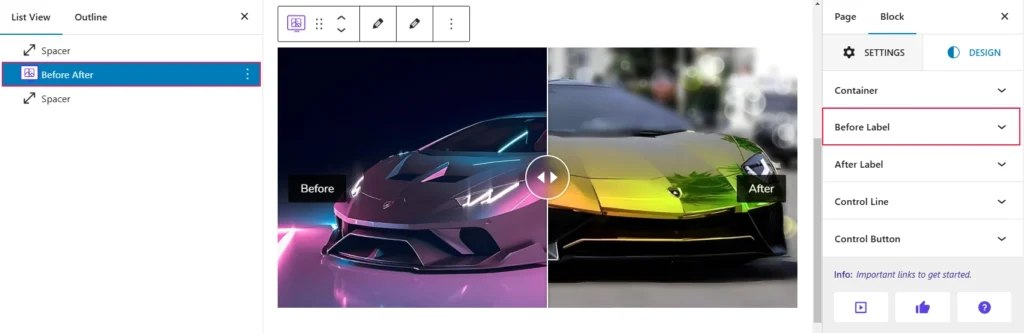
When you click on the “Before Label” option, you will see several settings that can be adjusted using sliders and various controls. Here is what is shown below in the screenshot for reference:
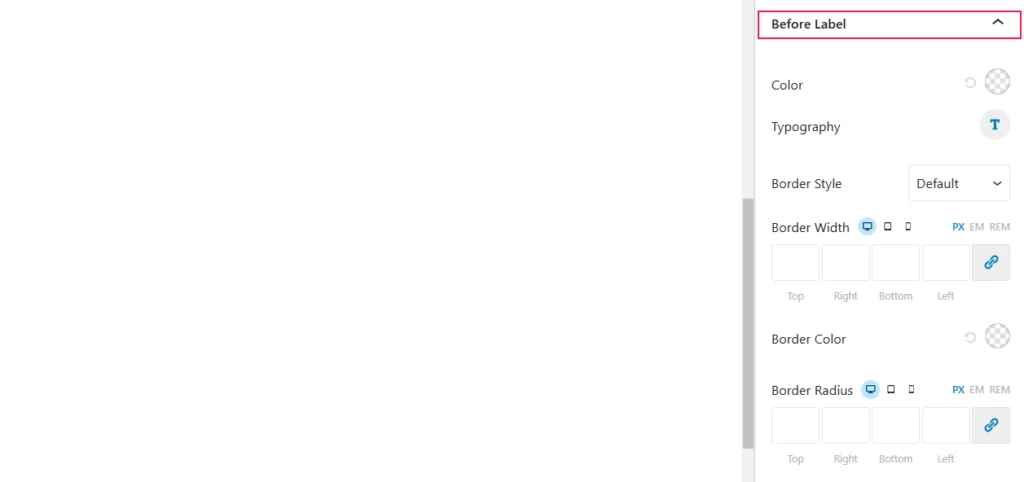
- Color: Set the font or element’s color for the label, ensuring contrast or stylistic alignment with the design.
- Typography: Customize text-related properties such as font family, size, weight, line height, and letter spacing for the label.
- Border Style: Choose the type of border (e.g., solid, dashed, or dotted) around the label.
- Border Width: Specify the thickness of the border for each side (top, right, bottom, left) in units like PX, EM, or REM.
- Border Color: Select a color for the border to enhance visibility or aesthetics.
- Border Radius: Adjust the curvature of the element’s corners by specifying top, right, bottom, and left radii using units such as pixels (PX), em, or rem.
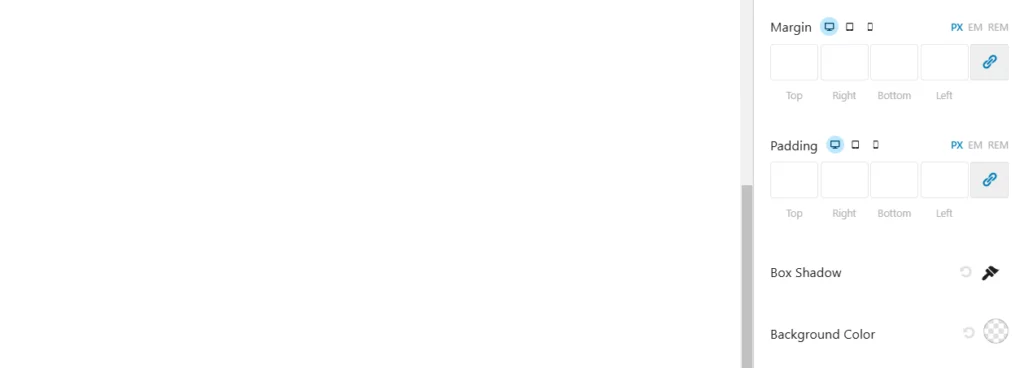
- Margin: Define the outer space of the element, controlling its distance from neighboring elements. Values can be set individually for top, right, bottom, and left.
- Padding: Configure the inner spacing of the element to set the distance between its content and the borders. Each side can have a custom value.
- Box Shadow: Add shadow effects to the element to create depth or highlight it. Customize parameters like color, blur, and offset.
- Background Color: Choose or modify the fill color of the element’s background. It allows solid colors or gradients based on design needs.