
Select the parent Before After and navigate to the Settings tab. Now open the Labels panel. Now you can see the Labels settings and click its appears customization.
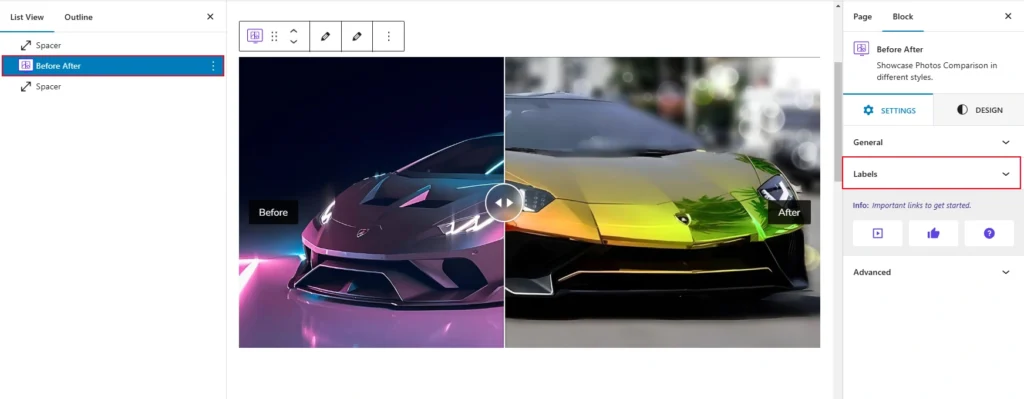
When you click on the “Labels” option, you will see several settings that can be adjusted using sliders and various controls. Here is what is shown below in the screenshot for reference:
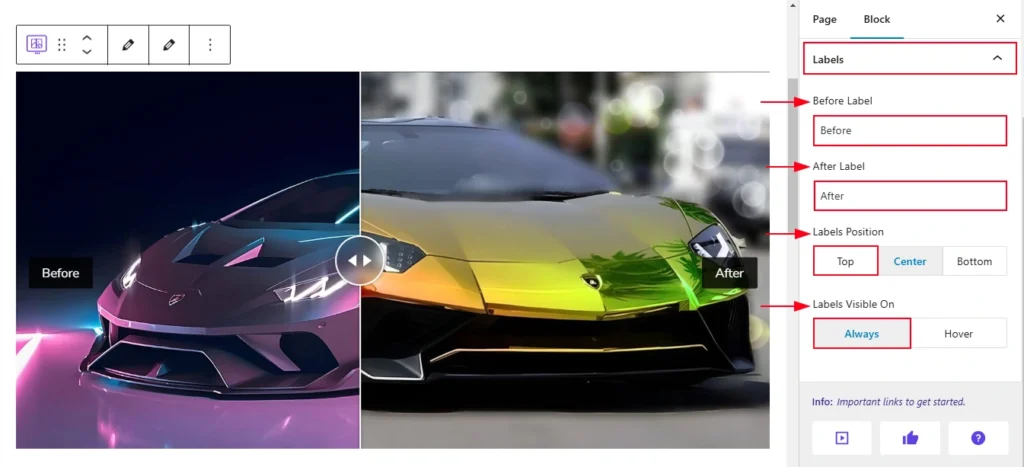
- Labels Section: The section is titled Labels, indicating that the following options pertain to customizing the labels for the slider (likely the “Before” and “After” text shown on the slider).
- Before Label: A text field where you can input the label for the Before image. By default, the text is set to “Before.” You can modify this text to suit your preference, such as “Original” or another description.
- After Label: A text field to set the label for the After image. The default is “After,” but you can change this text to something else, like “Updated” or another relevant description.
- Labels Position: This option allows you to choose the position of the labels on the slider:
- Top: The labels will appear at the top of the slider.
- Center: The labels will be displayed in the center of the slider.
- Bottom: The labels will be placed at the bottom of the slider.
- Labels Visible On: This option defines when the labels will be visible:
- Always: The labels are always visible on the slider.
- Hover: The labels only appear when the user hovers over the slider with their mouse.